Add Document Bleed
When working with print content, there’s always a small margin of error in the alignment between your design and the cut edges of the paper. To hide this, we add a “bleed” to our documents, a bit of space where our art can stretch outside of the artboard. That way, if the cut is a bit out of whack, the people that see it will be none the wiser.
Whether your software doesn’t offer a bleed setting, or you just forgot to add it before creating your document, you can use GuideGuide with negative margin values to easily mark bleed boundaries.
-
Navigate to the Grid tab.
-
Select your artboard.
-
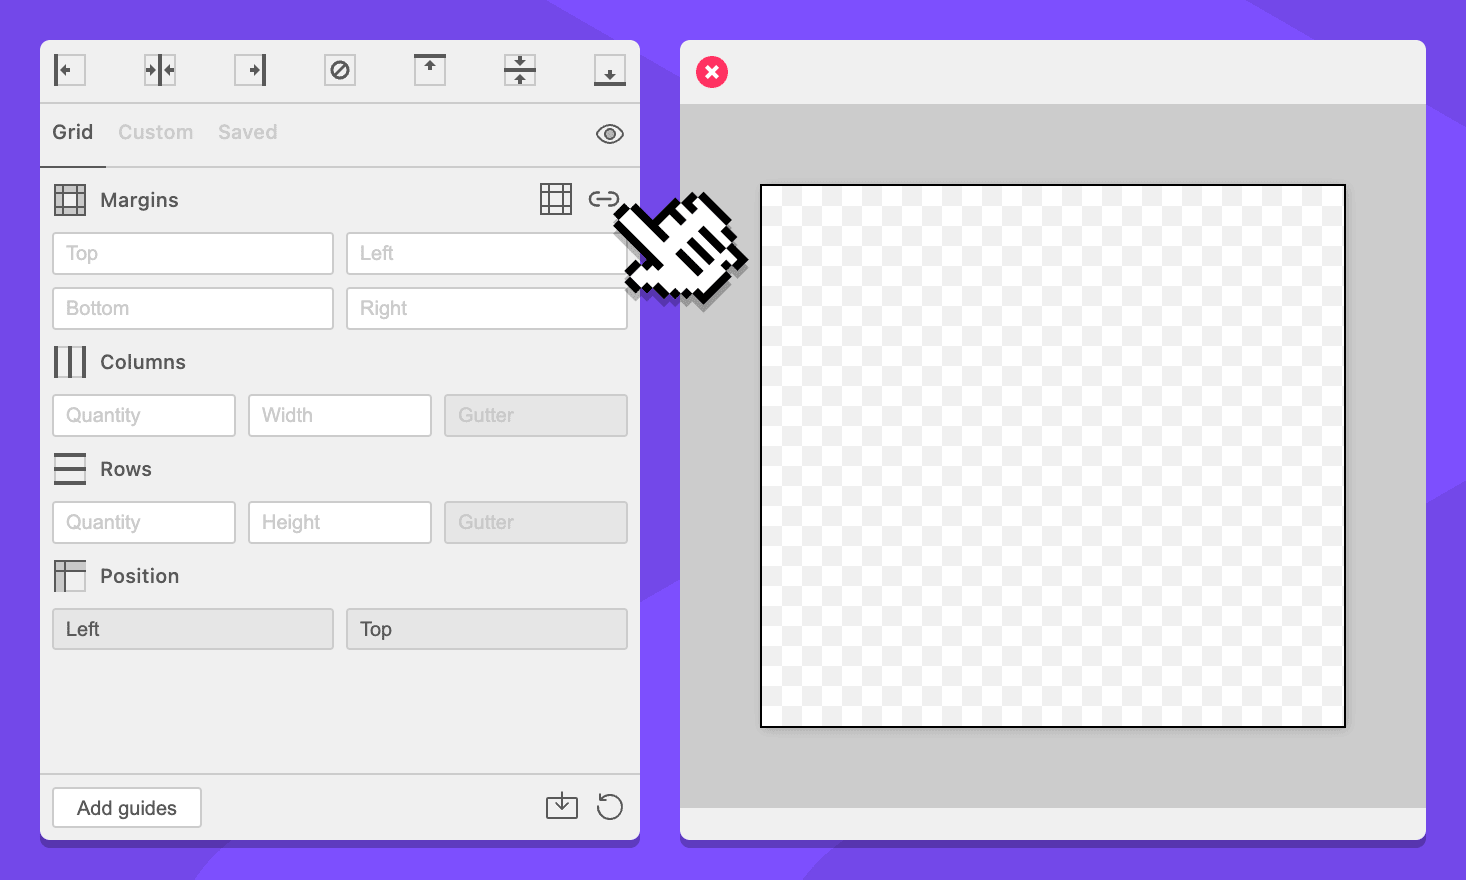
In the Margins section, make sure the Sync margin fields icon looks like a link.
-
In the Margins section, enter
-.125inin any margin fields. They will all update.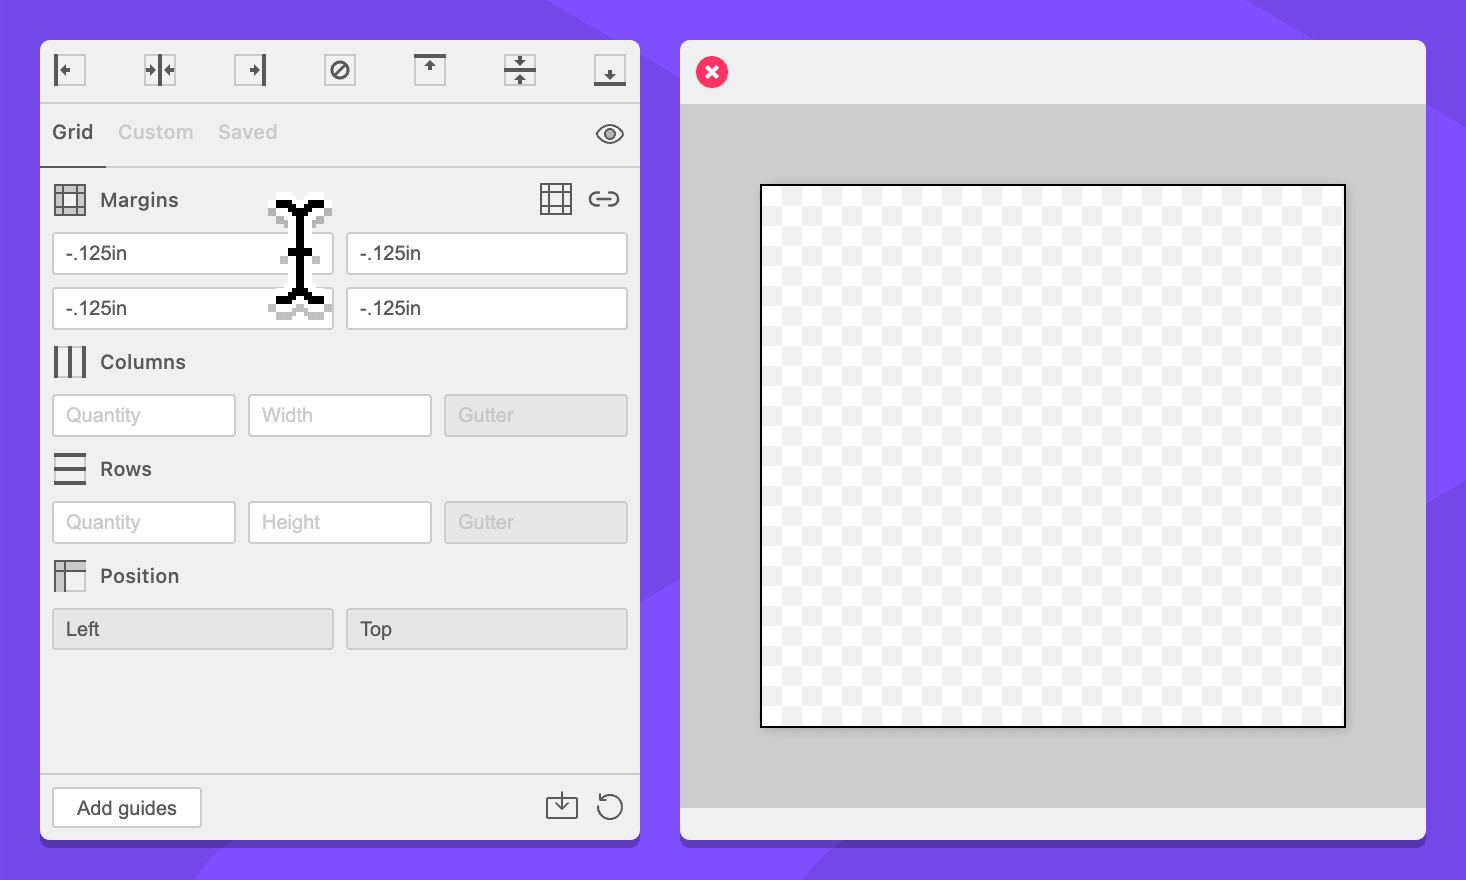
-
Click the Add guides button.
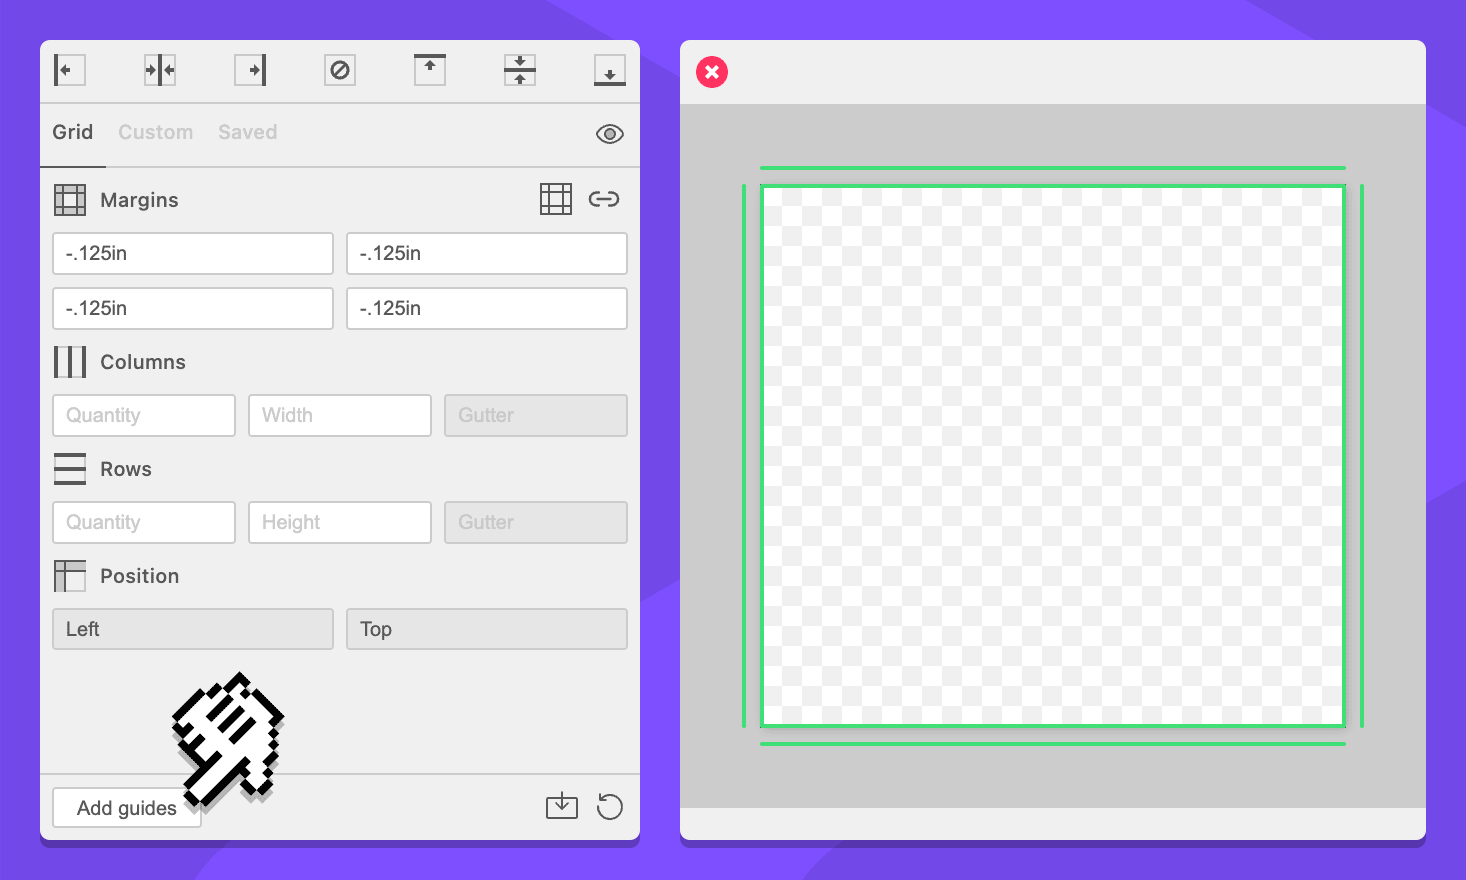
By entering a negative value in the margin field, we tell GuideGuide to add the margins outside of the current context. This places guides ⅛ of an inch outside the thing you have selected. Now you can make sure your art goes far enough outside of the cut area or resize your canvas as needed.